
Last updated October 31, 2026
 Home additions & ADU
 Kitchen remodeling
 Bathroom remodeling
 Roofing
 Windows & doors
 Driveway & pavers
 Fence
Free written scope consultation - allowances, timeline, and change-order rules on paper before a single trade is scheduled
General Contractor Maintenance Checklist for Westminster Homeowners
The most expensive repair call a Westminster homeowner makes is almost never a surprise. It’s a $200 fix that was ignored for two years until it became a $12,000 fix. We’ve watched this pattern repeat across every neighborhood in the city, from the older ranch homes near Westminster Boulevard to the newer tracts along the 405 corridor. What follows is a maintenance checklist written through a general contractor’s eyes, meaning it’s organized around how failures actually compound in Westminster’s specific climate, not a generic list of chores. If you own a home here, this guide will save you money we already know you’re about to spend somewhere else.
Styles & brands we work with
Quick Answer
A Westminster home maintenance checklist should be split into quarterly interior checks and annual exterior inspections, with the exterior work prioritized in late summer before the wet season begins. In our experience managing home renovations in Westminster, the three systems that cause the most expensive emergency calls here are roofing, drainage, and foundation moisture, and all three are preventable with roughly six hours of total work per year. If you’re planning a renovation, use this checklist to identify deferred maintenance before you spend money on finishes, because paint and tile will not fix a drainage problem underneath them.
Table of Contents
- Why Westminster’s Climate Demands a Different Checklist
- The Quarterly Checklist: Four Fast Interior Passes
- The Annual Exterior Checklist: One Thorough Day
- The Westminster Triad: Roofing, Drainage, and Foundation Moisture
- Cascade Failures: How One System Predicts the Next
- Cosmetic Maintenance vs. Structural Maintenance: Knowing the Line
- Using Maintenance Findings to Plan a Renovation
- Common Mistakes to Avoid
- When to Call a Professional
- Frequently Asked Questions
- The Bottom Line
Why Westminster’s Climate Demands a Different Checklist
Westminster sits in a coastal-influenced climate zone that creates three specific stressors on homes. The first is humidity: we’re close enough to the Pacific that morning marine layer moisture sits on siding, trim, and stucco for hours, and that moisture works its way into any gap in caulk or paint. The second is summer heat: Westminster regularly sees July and August days above 85 degrees, and that heat expands and contracts building materials at a rate that breaks down sealants faster than inland homeowners realize. The third is the wet season: November through March brings intermittent rain that’s mild compared to the Pacific Northwest but persistent enough that any existing water intrusion point gets tested repeatedly over four to five months.
What this means practically is that a checklist written for Phoenix or Denver will not serve a Westminster homeowner. Those climates have their own failures, but they don’t combine coastal humidity with heat cycles and a long damp season. A general contractor who’s worked in Westminster for years learns to look at caulk joints differently: we don’t just check if the caulk is cracked, we check whether it’s still adhered, because the humidity here causes silicone and polyurethane to separate from stucco and wood long before visible cracks appear. That’s the kind of detail that separates a checklist that catches problems early from one that just confirms everything looks fine until it doesn’t.
Westminster’s older housing stock adds another layer. The city grew quickly in the 1950s through 1970s, and many homes in the original tracts still have original cast iron drain pipes, single-pane aluminum windows, and foundations that predate modern seismic code. A home built in 1963 in central Westminster has a fundamentally different maintenance profile than a 2005 build in the newer developments. The checklist below accounts for both, but if your home is original to the mid-century tracts, pay particular attention to the drainage and foundation sections.
The Quarterly Checklist: Four Fast Interior Passes
You do not need a 47-item checklist that takes a full weekend every three months. You need four fast passes that catch the failures that happen on short timelines, because those are the ones that become urgent and expensive. Each pass takes about 45 minutes. Do them on the first weekend of January, April, July, and October, and you’ll catch 80% of preventable interior failures before they become contractor calls.
Step-by-Step Quarterly Pass
- Run every shutoff valve. Under every sink, behind every toilet, at the washing machine hookup, and at the main if accessible. Turn each valve off and back on fully. A valve that hasn’t moved in three years will seize, and when it seizes, you won’t be able to shut off water during a leak. This is the single cheapest insurance policy in your home.
- Check under every sink with a flashlight. Look for moisture, water stains, corrosion on the shutoff valves, mold on the cabinet base, and drips at the trap and drain connections. A slow leak under a kitchen sink will destroy a cabinet base in six months. In Westminster’s humidity, it’ll also grow mold faster than you’d believe.
- Pull the toilet tank lid and check the fill valve and flapper. Add a few drops of food coloring to the tank, wait 15 minutes, and check if the bowl water changed color. A running toilet wastes up to 200 gallons per day, and in parts of Westminster with older supply lines, the mineral content accelerates flapper degradation.
- Test every GFCI outlet. Press the test button and confirm power cuts, then reset. Do this on every GFCI in the kitchen, bathrooms, garage, and exterior. These outlets protect against electrical shock, and they do fail silently. If one won’t reset, call an electrician before it stops protecting you.
- Inspect attic access visually. Pop your head into the attic with a flashlight. Look for daylight showing through the roof deck, water stains on the underside of the sheathing, rodent droppings, and any insulation that’s shifted or compressed. Westminster’s mild climate means attics don’t get the extreme heat of inland areas, but our humidity means any roof leak shows up as staining within weeks, not months.
These five steps take less than an hour and catch the failures that move fastest. The other interior systems, the ones that fail slowly, get their check during the annual pass below.
The Annual Exterior Checklist: One Thorough Day
Schedule the annual exterior pass for late August or early September. This timing matters: you want to catch issues before the first rains arrive, and you want the hot, dry summer to have finished its expansion-contraction cycle, because that’s when failed sealants become visible. Doing this pass in spring means you’ll miss a full season of damage and enter the wet months with unknown risks.
The Full Exterior Sequence
- Walk the roofline from the ground first. Look at the ridge line, the eaves, and every transition where roof meets wall or chimney. Look for lifted shingles, exposed fasteners, separated flashing, and any area where the roofline looks uneven. You’re looking for visual clues, not doing a roof inspection from the ground, but years of experience in Westminster tell us that most significant roof leaks show visible exterior signs long before water enters the living space.
- Check every penetration from inside the attic. This is the part most homeowners skip, and it’s the part that finds roof failures earliest. Get into the attic on a bright day and look at every pipe boot, vent, and exhaust penetration from underneath. Daylight visible around the penetration means water can follow the same path during rain. Staining on the sheathing in a ring around the penetration is an active leak that hasn’t yet shown itself on the ceiling.
- Inspect every exterior caulk joint. Walk the perimeter of the house and look at every joint where dissimilar materials meet: stucco to trim, trim to windows, windows to brick, and any joint around exterior doors. Press your fingernail into the caulk. If it’s hard, cracked, or separates from either surface, it’s failed. Recaulking is a weekend DIY job. Replacing rotted sheathing and framing behind failed caulk is not.
- Run every exterior hose bib and test the freeze protection. In Westminster’s mild winters, freeze damage is less common than in mountain areas, but it’s not zero, and a burst hose bib that goes unnoticed inside a wall will quietly destroy framing for months. Test each bib for proper shutoff and check the anti-siphon cap for leaking.
- Clean and inspect gutters and downspouts. Remove all debris, then check that every downspout actually carries water away from the foundation. Run a hose and watch where the water exits. A downspout that dumps at the foundation line is not doing its job, and in Westminster’s older neighborhoods, that’s a primary contributor to the foundation moisture issues discussed below. Extend any downspout that terminates within three feet of the foundation.
- Check the grading around the foundation. Walk the perimeter and look for any area where soil has settled or sloped toward the house. Water should always drain away. Soil settles over time, especially where backfill was placed around the foundation decades ago, and a slope that was correct in 1970 may now be directing water toward the structure.
The Westminster Triad: Roofing, Drainage, and Foundation Moisture
In fifteen years of working on homes across Westminster, we’ve learned that three systems account for the majority of expensive emergency calls in older neighborhoods, and the three are connected. Roof failures send water down the exterior walls, where failed drainage concentrates it at the foundation, where it finds its way into the crawl space or slab, and by the time a homeowner sees the water indoors, all three systems have been working against them for months. This triad is the lens through which a general contractor approaches maintenance, because a general contractor sees the connection, not just the symptom. For a deeper look at diagnosing these interconnected issues, see our General Contractor Troubleshooting: Common Problems and How to Fix Them.
Roofing
Westminster’s roof failures are mostly gradual, not sudden. Composite shingle roofs here typically last 20 to 25 years, but the last five years of that life span are when leaks begin, and the leaks start at flashing points before the shingles themselves fail. Metal flashing expands and contracts with our summer heat cycles, and the sealant that ties flashing to the deck breaks down under coastal humidity. When we replace roofs in Westminster, the most common call that precedes the replacement is a leak at a pipe boot or a wall transition, not a catastrophic failure across the entire field of shingles.
Check your roof’s age. If you don’t know when the roof was replaced, check the building permit history through the City of Westminster, or call a licensed contractor for a roof inspection. If the roof is past 18 years old, you should be doing attic penetration checks every quarter, because the failure window has arrived.
Drainage
Drainage failures in Westminster are almost always slow and invisible. The downspout that dumps at the foundation corner doesn’t announce itself. It saturates the soil around the foundation over years, and saturated soil against a concrete foundation creates hydrostatic pressure that pushes against the foundation wall. The first visible sign is often a hairline crack that appears in the drywall above a door or window, because the foundation has shifted just enough to transfer stress upward. By the time that crack appears, the drainage problem has been active for a long time.
Walk your property during the next heavy rain, umbrella in hand, and watch where water pools. Look at every downspout and every area where two rooflines meet and funnel water. If you see water sitting against the house anywhere, you’ve found a drainage problem. In neighborhoods with mature landscaping, tree roots can also shift original drainage patterns, so a home that drained correctly for thirty years can develop problems as a tree grew and its roots lifted or blocked the path.
Foundation Moisture
Foundation moisture is the end point of the triad, and it presents in several ways. Musty odors in the crawl space, efflorescence on the foundation walls (that chalky white mineral deposit that forms when water moves through concrete), cupped or warped hardwood flooring, doors that suddenly stick or fail to latch, and the hairline drywall cracks mentioned above are all indicators. In Westminster’s older homes, many of which sit on raised foundations with crawl spaces, the fix is almost always about water source elimination first, not structural repair. Stop the water, and the structure often stabilizes on its own.
This is why a general contractor’s approach to foundation work in Westminster starts outside, at the roof and drainage level, before any consideration of repairs inside. A contractor who quotes you a foundation repair without asking about your drainage is selling you a repair that will need doing again.
Cascade Failures: How One System Predicts the Next
A cascade failure is when one system’s decline directly causes another system’s decline, and it happens on a predictable timeline. In Westminster, a failing roof edge will saturate fascias and trim boards, which introduces moisture into the wall cavity behind them, which then feeds mold and dry rot in the rim joists, which then compromises the connection between wall and foundation. Each stage of that cascade takes six to eighteen months, and each stage is significantly more expensive to repair than the one before it.
Here’s the pattern we see repeatedly in Westminster homes, and the timeline that should prompt you to act earlier, not later:
- Failed caulk around window trim leads to water entering the wall cavity around the window. Within 12 to 18 months, the framing around the window begins to rot. Within two to three years, the window itself may need replacement because the surrounding structure can no longer support it properly.
- A slow plumbing leak under a bathroom floor goes unnoticed, then saturates the subfloor, then rots the joists below it. The timeline is similar: 12 to 18 months from first leak to visible floor damage, and by the time the tile cracks or the floor feels soft, the structural repair is no longer a small job.
- A gutter that’s been clogged for a full season overflows against the fascia board every time it rains. Within a year, the fascia is wet enough to support rot. Within two years, the rafter tails that hold the gutter are compromised. The $300 gutter cleaning became a $3,000 repair.
- Sprinkler heads spraying against the stucco saturate the wall over time, which leads to stucco cracking and blistering, which allows water into the wall cavity, which then travels down to the foundation. Sprinkler adjustment costs nothing. The repair that follows does not.
The uniting lesson: when you find a moisture-related failure anywhere, check the systems upstream and downstream of it. The failure you found is rarely the only one, and the next failure is already in progress.
Cosmetic Maintenance vs. Structural Maintenance: Knowing the Line
Some maintenance is yours to do. Some is not. The distinction matters because homeowners who attempt structural repairs without the training and licensing create failures that cost far more than the original problem. In Westminster, where many homes are 50 to 70 years old and have already been through multiple rounds of renovations, the structural systems are more fragile than they appear, and a mistake during a DIY repair can cascade quickly.
Maintenance You Can Handle
- Cleaning gutters and extending downspouts
- Recaulking exterior joints after removing the old caulk completely
- Repainting exterior trim with proper preparation
- Tightening loose cabinet hardware and exterior fixtures
- Replacing faucet washers and toilet flappers
- Adjusting sprinkler heads and irrigation timing
- Testing and resetting GFCI outlets
- Checking attic insulation levels and adding batt insulation
Maintenance That Requires a Licensed Contractor
- Any work on the roof surface itself, including shingle replacement, flashing repair, or penetrations. Roof work in California requires a licensed contractor, and the safety risk of working at height is not worth the savings on a DIY patch.
- Any work inside walls or ceilings that involves electrical wiring. This is not a gray area. Unpermitted electrical work is a safety hazard and a disclosure issue when you sell.
- Any work on gas lines or gas appliances. No exceptions.
- Structural repairs of any kind, including foundation work, beam replacement, or load-bearing wall modification.
- Water heater replacement and any plumbing beyond fixture-level work. A plumbing mistake inside a wall is invisible until the damage is extensive.
- Window replacement in homes where the rough opening may have rotted framing. The replacement window can’t be installed correctly into a compromised opening.
The line is not about skill or effort. It’s about the consequences of failure. A homeowner who replaces a flapper and gets it wrong has a running toilet. A homeowner who patches a roof and gets it wrong has a ceiling full of water in a Westminster winter storm, and the fix costs more than hiring a contractor would have in the first place.
Using Maintenance Findings to Plan a Renovation
If you’re considering a kitchen remodel, bathroom renovation, or whole-home project in Westminster, learn how to hire a construction contractor in Westminster so your maintenance checklist findings feed directly into the renovation scope. The most painful experience in our industry is a homeowner who invests $40,000 in a kitchen remodel, then discovers six months later that a drain pipe under the slab has failed, and the new floor has to be pulled up to access it. That specific scenario happens more often than anyone in construction wants to admit. A pre-renovation maintenance pass catches these issues before they become post-renovation emergencies.
Here’s how the findings map to renovation planning:
- Foundation moisture signs should be resolved before any interior finish work begins. New drywall and flooring will not fix the cause, and the moisture will destroy the new finishes.
- Roof age at or past 20 years should trigger a roof replacement before, or as part of, a major interior renovation. You don’t want a new kitchen ceiling under an aging roof.
- Older cast iron drain pipes in Westminster’s mid-century homes should be scoped with a camera before a kitchen or bathroom remodel. Replacing them while walls and floors are already open is dramatically cheaper than replacing them later.
- Electrical panel condition matters if your renovation adds load. A panel that’s at capacity means an upgrade, and it’s a cost you want to know about in planning, not halfway through the project.
A general contractor in Westminster will run through this checklist as part of the pre-construction process, because a renovation built on top of deferred maintenance is a renovation with a known expiration date. At Square One Builders, our pre-construction walkthrough always includes a maintenance assessment alongside the scope conversation, because the two are inseparable. A home that’s been maintained will accept new work cleanly, and a home that hasn’t will reveal itself quickly.
Common Mistakes to Avoid
- Waiting until you see water to think about water. By the time water shows up inside your Westminster home, it has often been moving through the building envelope for weeks or months. The damage done before visibility is always larger than the visible damage.
- Assuming new construction doesn’t need maintenance. Newer homes in Westminster’s recent developments still have caulk joints, still have gutters, and still experience soil settlement. The maintenance schedule is lighter, but it’s not zero, and skipping years one through five means starting maintenance at year six with several items already overdue.
- Overlooking the crawl space entirely. Westminster’s older homes almost all have crawl spaces, and homeowners almost never go into them. A once-a-year crawl space inspection with a flashlight catches moisture, pest activity, and drainage failures early. If you can’t do it yourself, hire a contractor for a one-time inspection.
- Patching the symptom, not the system. Replacing a rotted fascia board without addressing the gutter overflow that caused the rot is buying time, not solving the problem. In Westminster’s climate, the replacement will fail on the same timeline as the original.
- Ignoring the permit question. California requires permits for most structural, electrical, plumbing, and roofing work. Unpermitted work from a previous owner becomes your liability when you sell, and it can complicate insurance claims. When in doubt, ask the City of Westminster’s building department.
- Assuming DIY is always the cheaper option. It is not when the failure of the DIY attempt creates a bigger repair. The line between cosmetic and structural matters, and in a 60-year-old Westminster home, the margin for error is narrow.
When to Call a Professional
Call a licensed contractor when you find active water intrusion, when you see structural cracking that’s new or growing, when you smell gas, when your electrical panel makes noise or a breaker trips repeatedly, or when you see any evidence of foundation movement in a Westminster home built before 1980. These are not the moments to troubleshoot. A specific example: hairline cracks in drywall that appear suddenly and grow over a few months are not settling. They’re movement, and movement means a structural evaluation. In our experience, the homeowners who call early pay a fraction of what the homeowners who wait pay before the end of the next rainy season.
Square One Builders offers free estimates in Westminster. Call (877) 688-9930 to schedule a walkthrough, and we’ll give you a straight assessment of what needs attention now, what can wait, and what your maintenance findings mean for any renovation you’re planning.
Frequently Asked Questions
A basic maintenance inspection from a licensed general contractor in Westminster typically runs $200 to $500 depending on the scope and the size of the home. Some contractors apply the inspection fee toward future work if you move forward with a project. Square One Builders offers free estimates for renovation work, and the pre-construction walkthrough includes a maintenance assessment at no charge. Call (877) 688-9930 to schedule yours.
Once a year is sufficient for most Westminster homes, provided you catch any urgent issues promptly when they appear. The annual pass prevents slow failures from compounding. If your home is over 50 years old, consider doing the roofline and attic portion twice a year, because the margin for error on aging systems is smaller.
Downspout discharge location. In Westminster’s older neighborhoods, we regularly see downspouts that empty directly at the foundation line, and homeowners have no idea it’s a problem because they’ve never watched their house during a heavy rain. This single, free-to-fix issue is a primary contributor to the foundation moisture problems we discussed earlier.
You can do a ground-level visual check and an attic check from inside, and both are useful. But we do not recommend walking a roof surface without proper safety equipment and training, especially on the steeper pitches common in Westminster’s older homes. A fall from a roof is a life-changing injury. Hire a licensed contractor for an on-roof inspection.
Complete the annual exterior pass, address any drainage issues, recaulk visible joints, ensure all plumbing fixtures are free of leaks, and have the roof inspected if it’s over 15 years old. Buyers in the Westminster market increasingly request maintenance records and pre-listing inspection reports, and a home with documented maintenance sells faster and at a better price.
The combination of morning marine layer humidity, summer heat expansion, and a four-to-five-month wet season breaks down exterior sealants and paints faster than inland climates. Caulk joints that would last ten years in Riverside or Corona typically need attention after five to seven years in Westminster. The heat cycles are the primary driver, but the humidity is what prevents materials from drying out between cycles.
The Bottom Line
A maintenance checklist for a Westminster home works only if it’s actually used, which is why this one is split into 45-minute quarterly interior passes and one thorough annual exterior pass. The Westminster triad of roofing, drainage, and foundation moisture drives most expensive emergency calls, and all three are visible early if you look. Cascade failures are predictable: a failed system always stresses the systems around it, and the timeline is measured in months, not years. If you’re planning a home remodeling project in Westminster, run this checklist first, because the renovation will only be as good as the building underneath it. And if you find anything that concerns you, call us at (877) 688-9930 before it finds you.
Written by the team at Square One Builders, serving Westminster since 2014. For more guides & resources, visit our blog.
See the difference
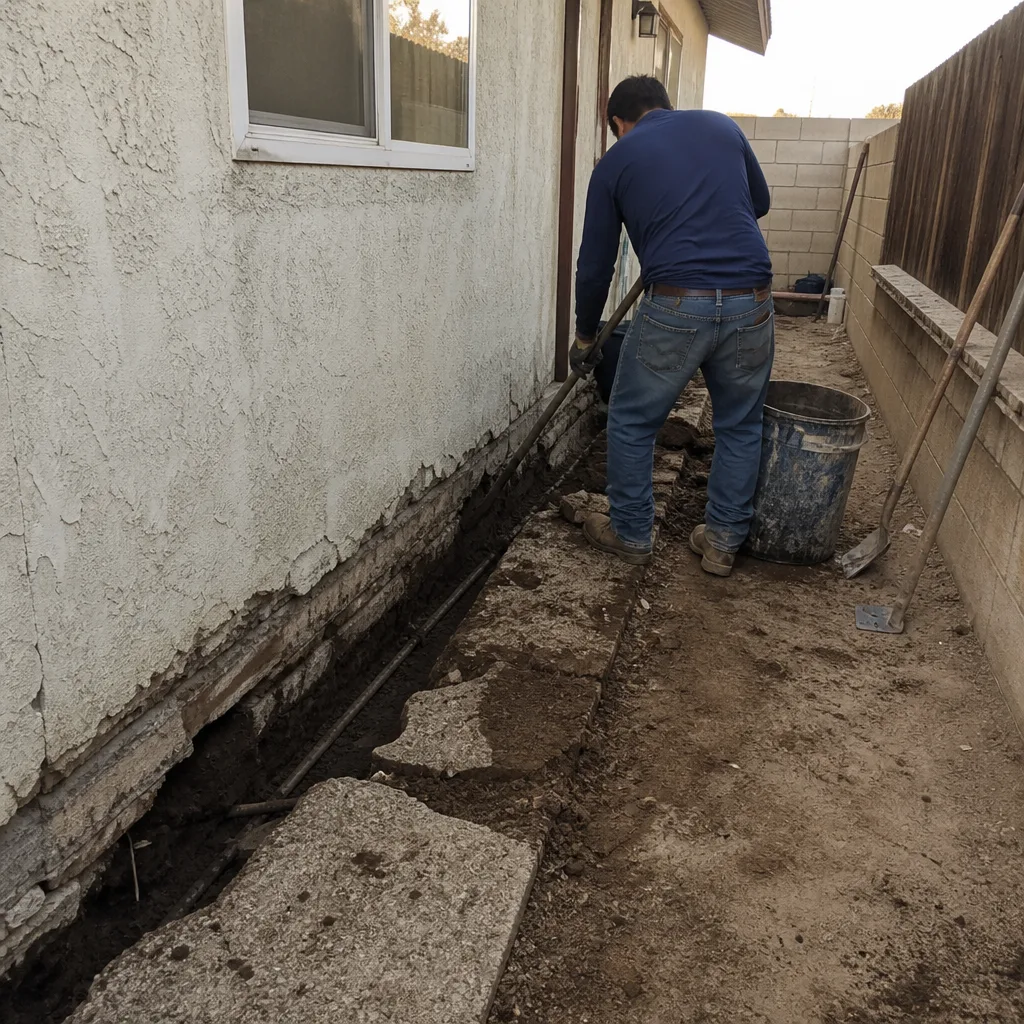 Before
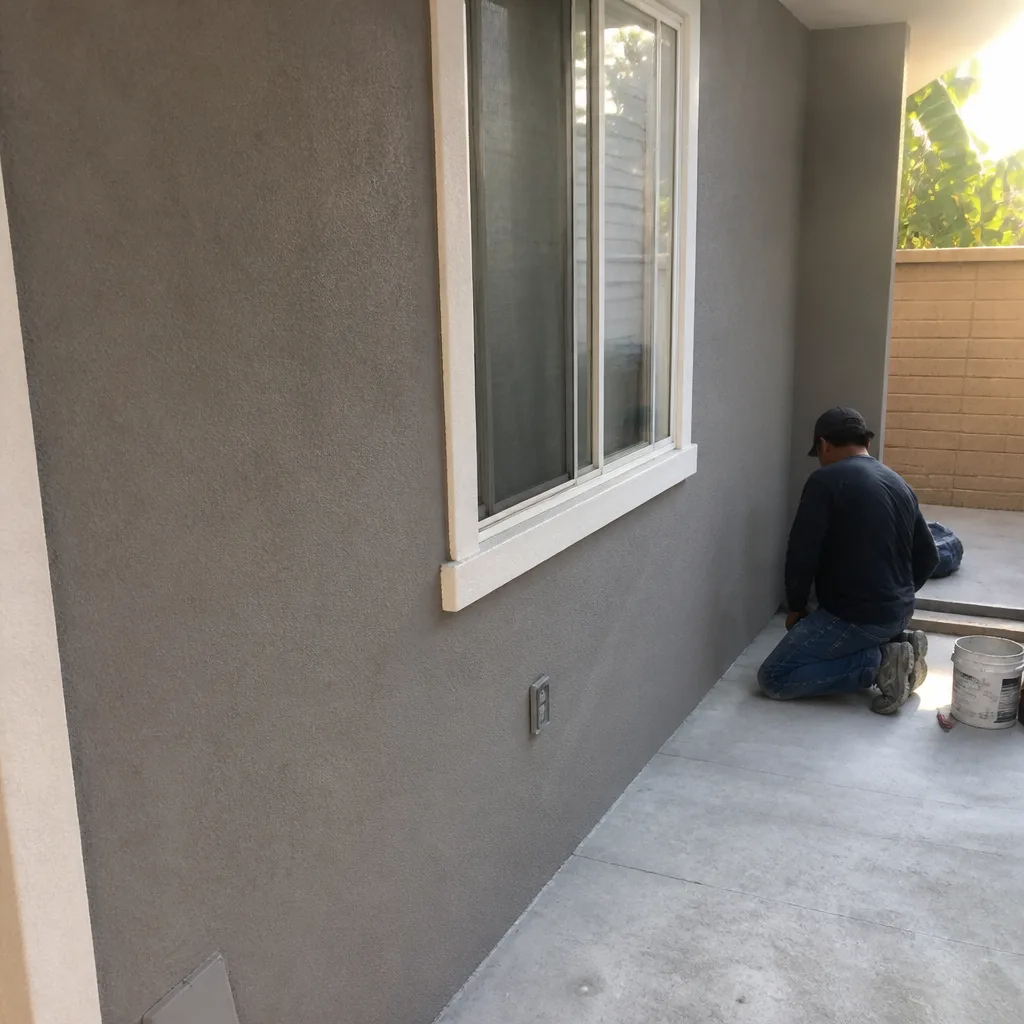 After
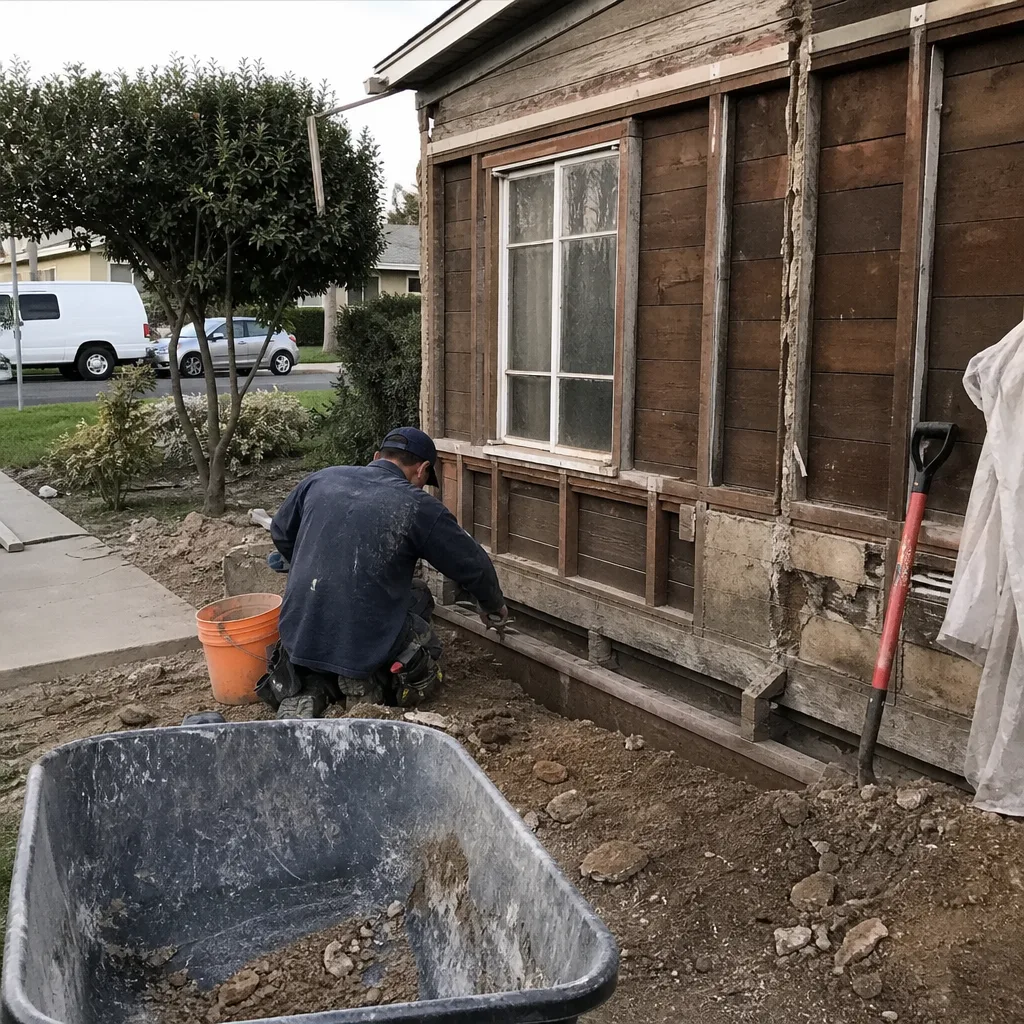 Before
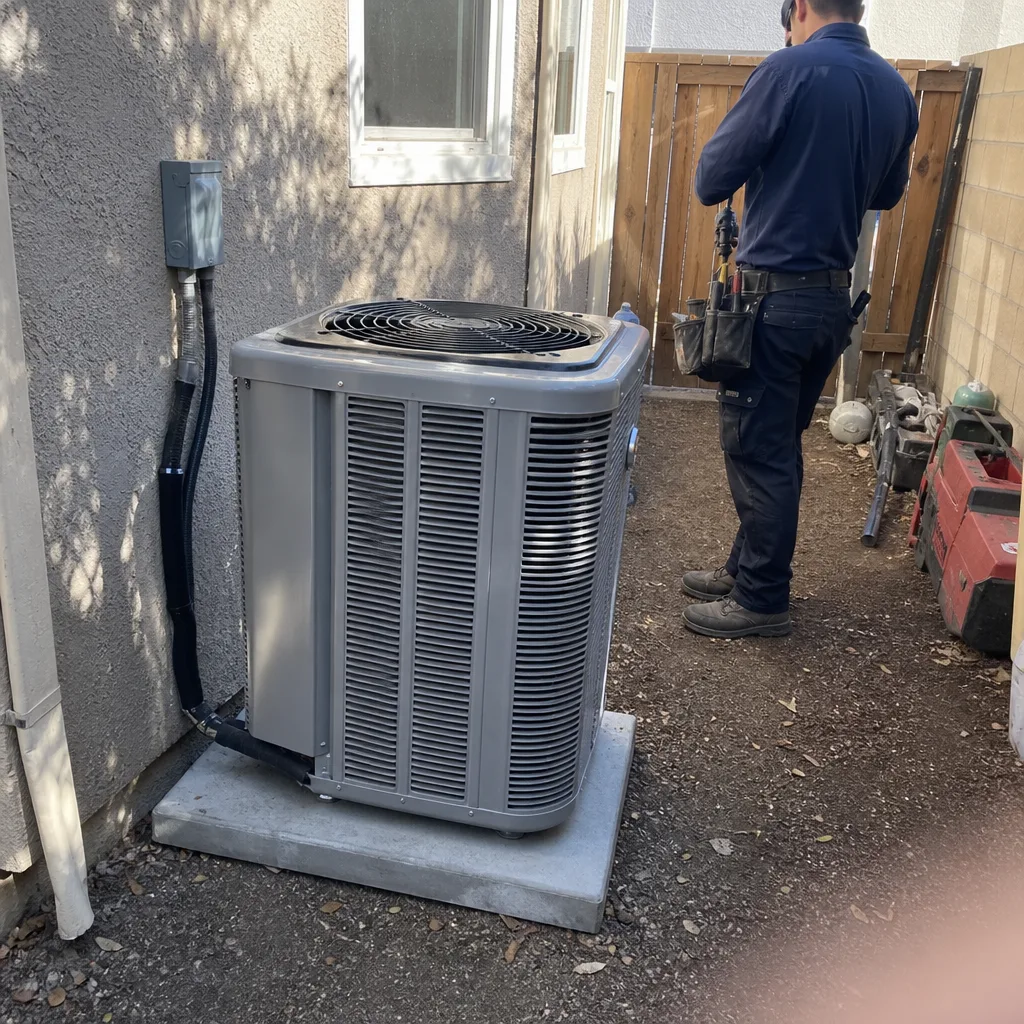 After
 Before
 After